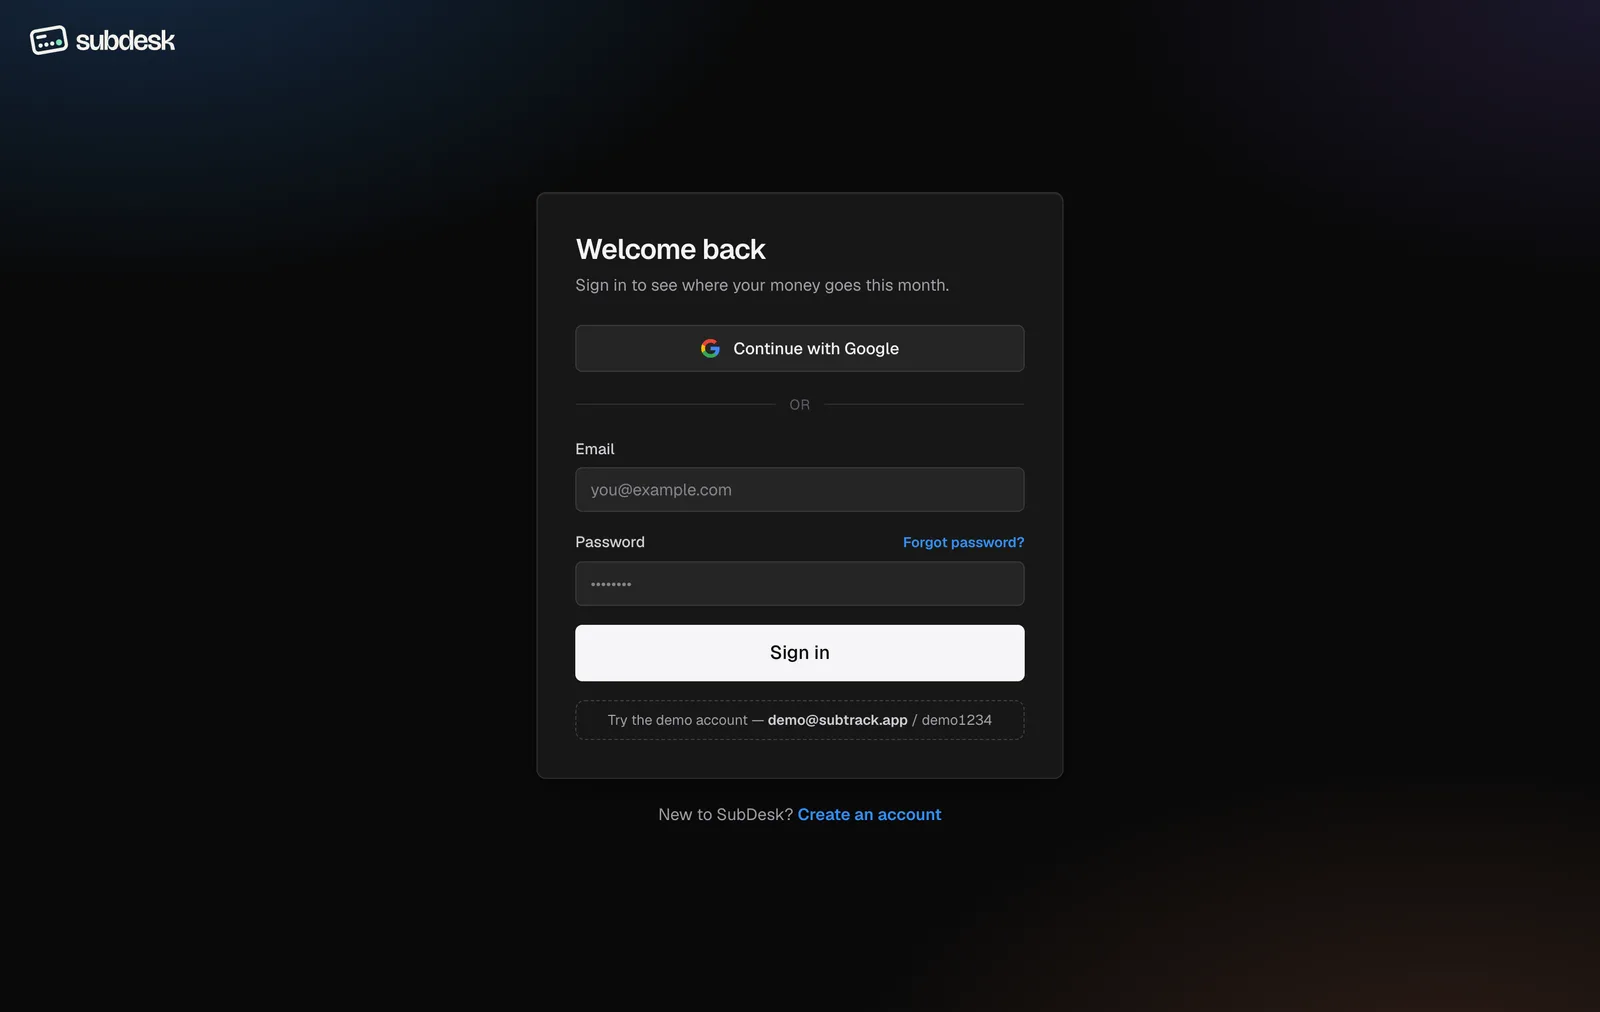
Step 1. Sign up or sign in
Go to subdesk.app and choose Start free, or sign in with an email and password or Continue with Google. Password resets and email confirmations open on any device, because the link itself carries the proof.
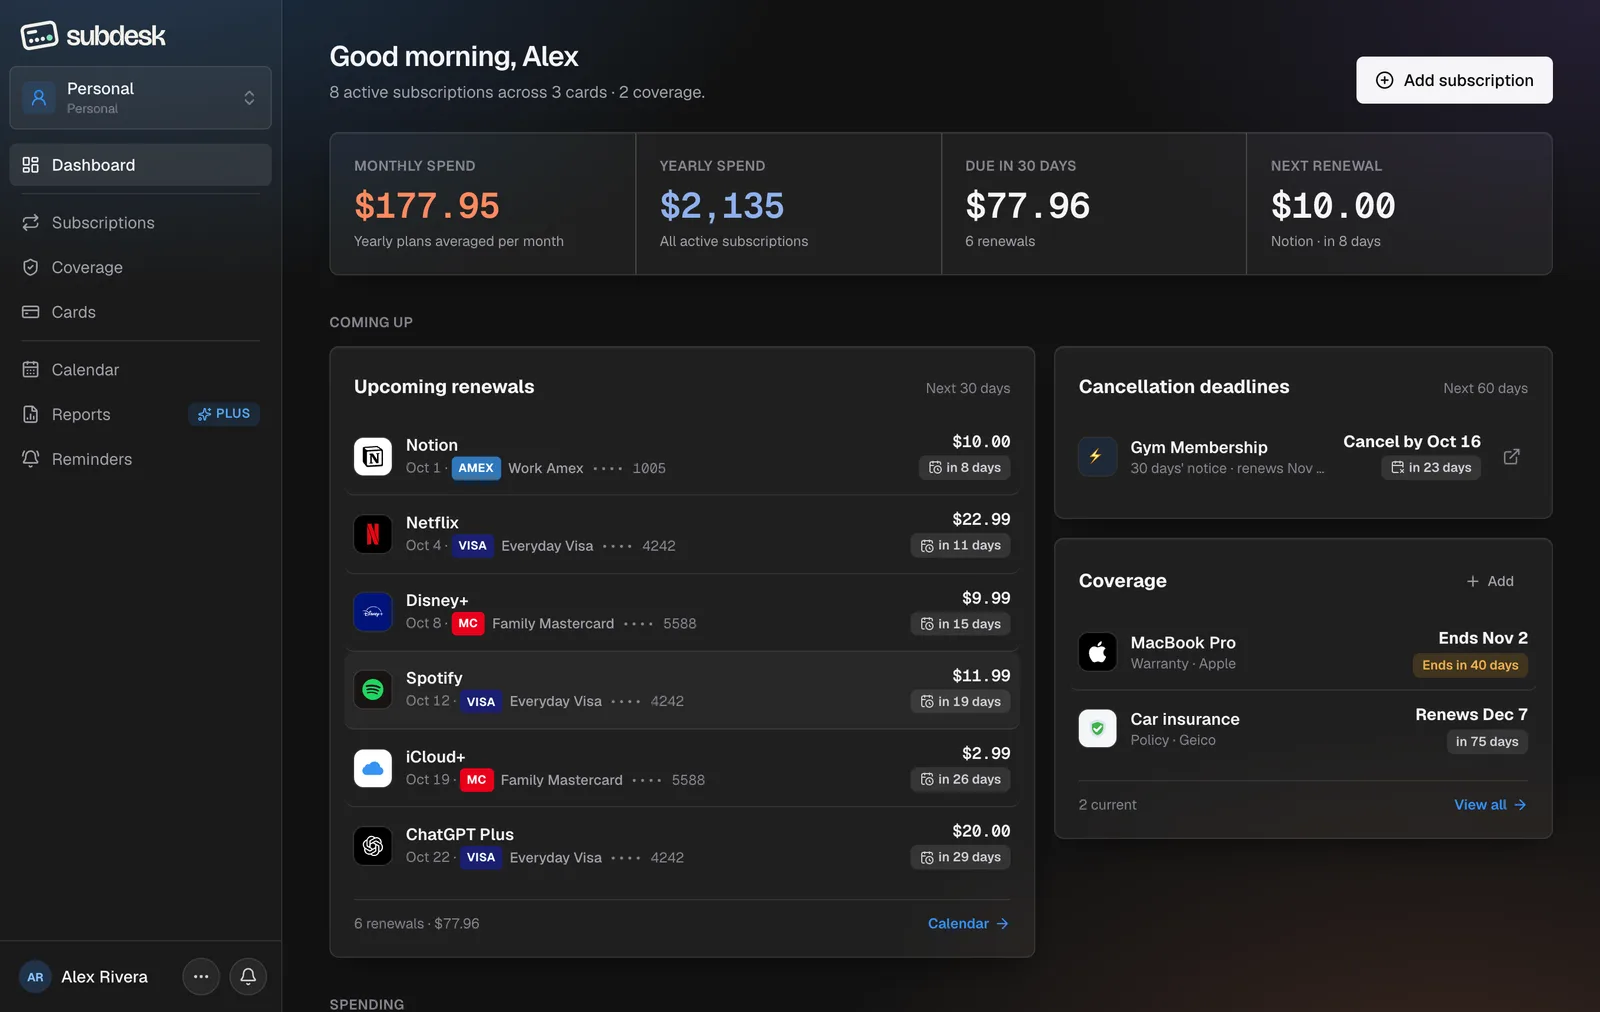
Step 2. Read the dashboard
The header greets you and states the live summary in one line: active subscriptions, cards and coverage. Under it sit four figures: monthly spend, yearly spend, what is due in the next 30 days, and the next renewal. Below are three cards, Upcoming renewals, Cancellation deadlines and Coverage ending soon, then spending by category and by card.
Step 3. Load sample data (optional)
An empty dashboard offers Load sample data, which fills every page with a realistic set of subscriptions, cards and coverage so you can explore before adding your own. The sample set stays within the Free plan's caps (10 subscriptions, 3 warranties and policies).
Finding your way
The sidebar groups the app into three rows. The workspace switcher is at the top; your name at the bottom opens Settings.
| Group | Pages | What you do there |
|---|---|---|
| Overview | Dashboard | See what renews next and what it costs |
| Records | Subscriptions, Coverage, Cards, Clients | Add and edit the things you pay for. Clients appears only in a Business workspace on Pro |
| Time and money | Calendar, Reports, Reminders | Look ahead, export, and choose which emails you get |