The switcher at the top of the sidebar moves between workspaces. Settings → Workspaces lists them, with New workspace on paid plans.
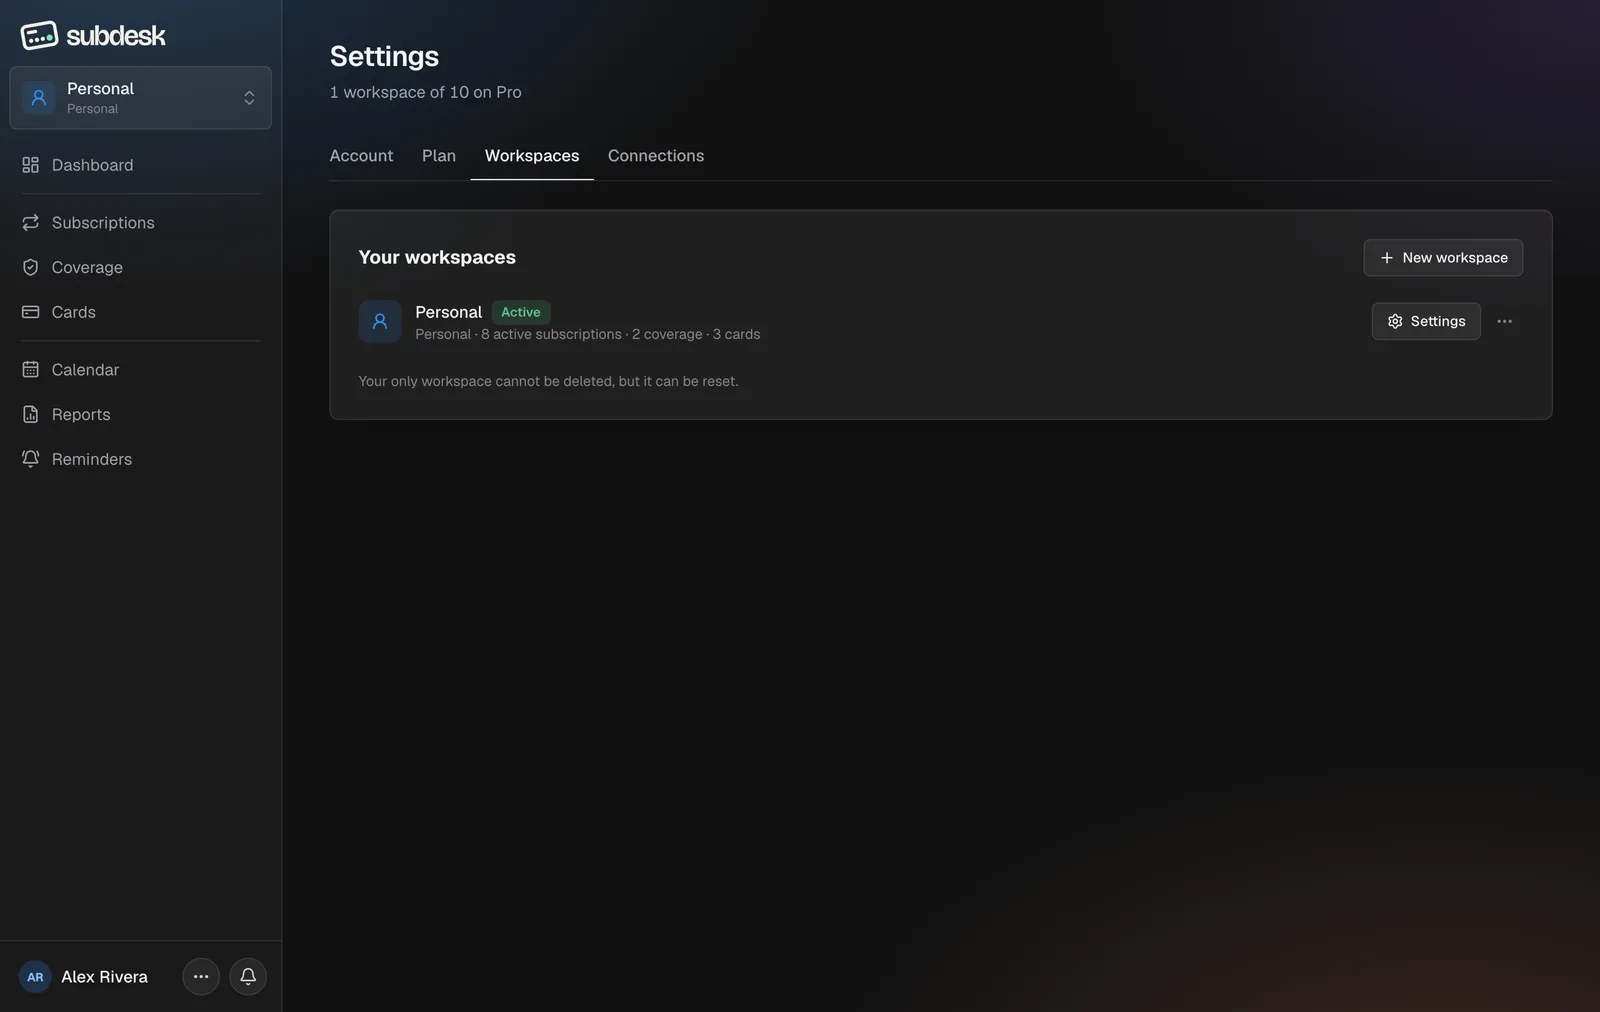
Step 1. Create a workspace
Give it a name, a type (Personal, Business or Other; only Business can bill clients), and a currency. Amounts are stored in US dollars, so the currency only changes how figures are shown and can be changed later.
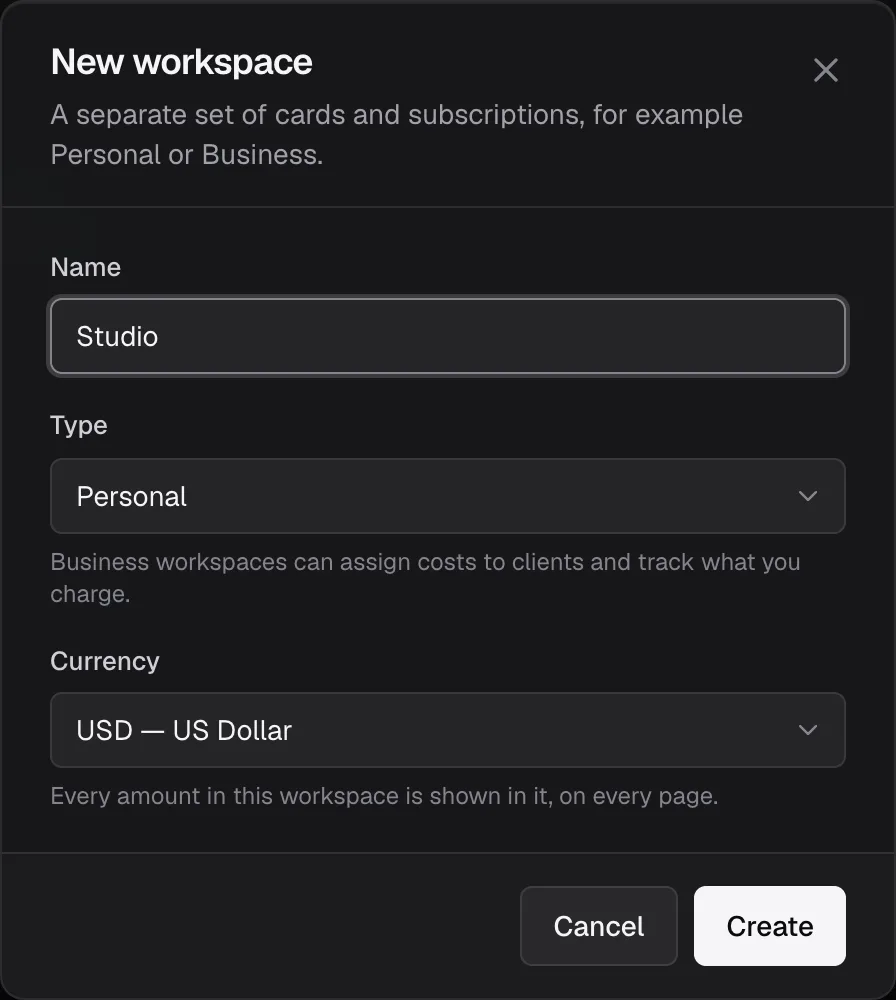
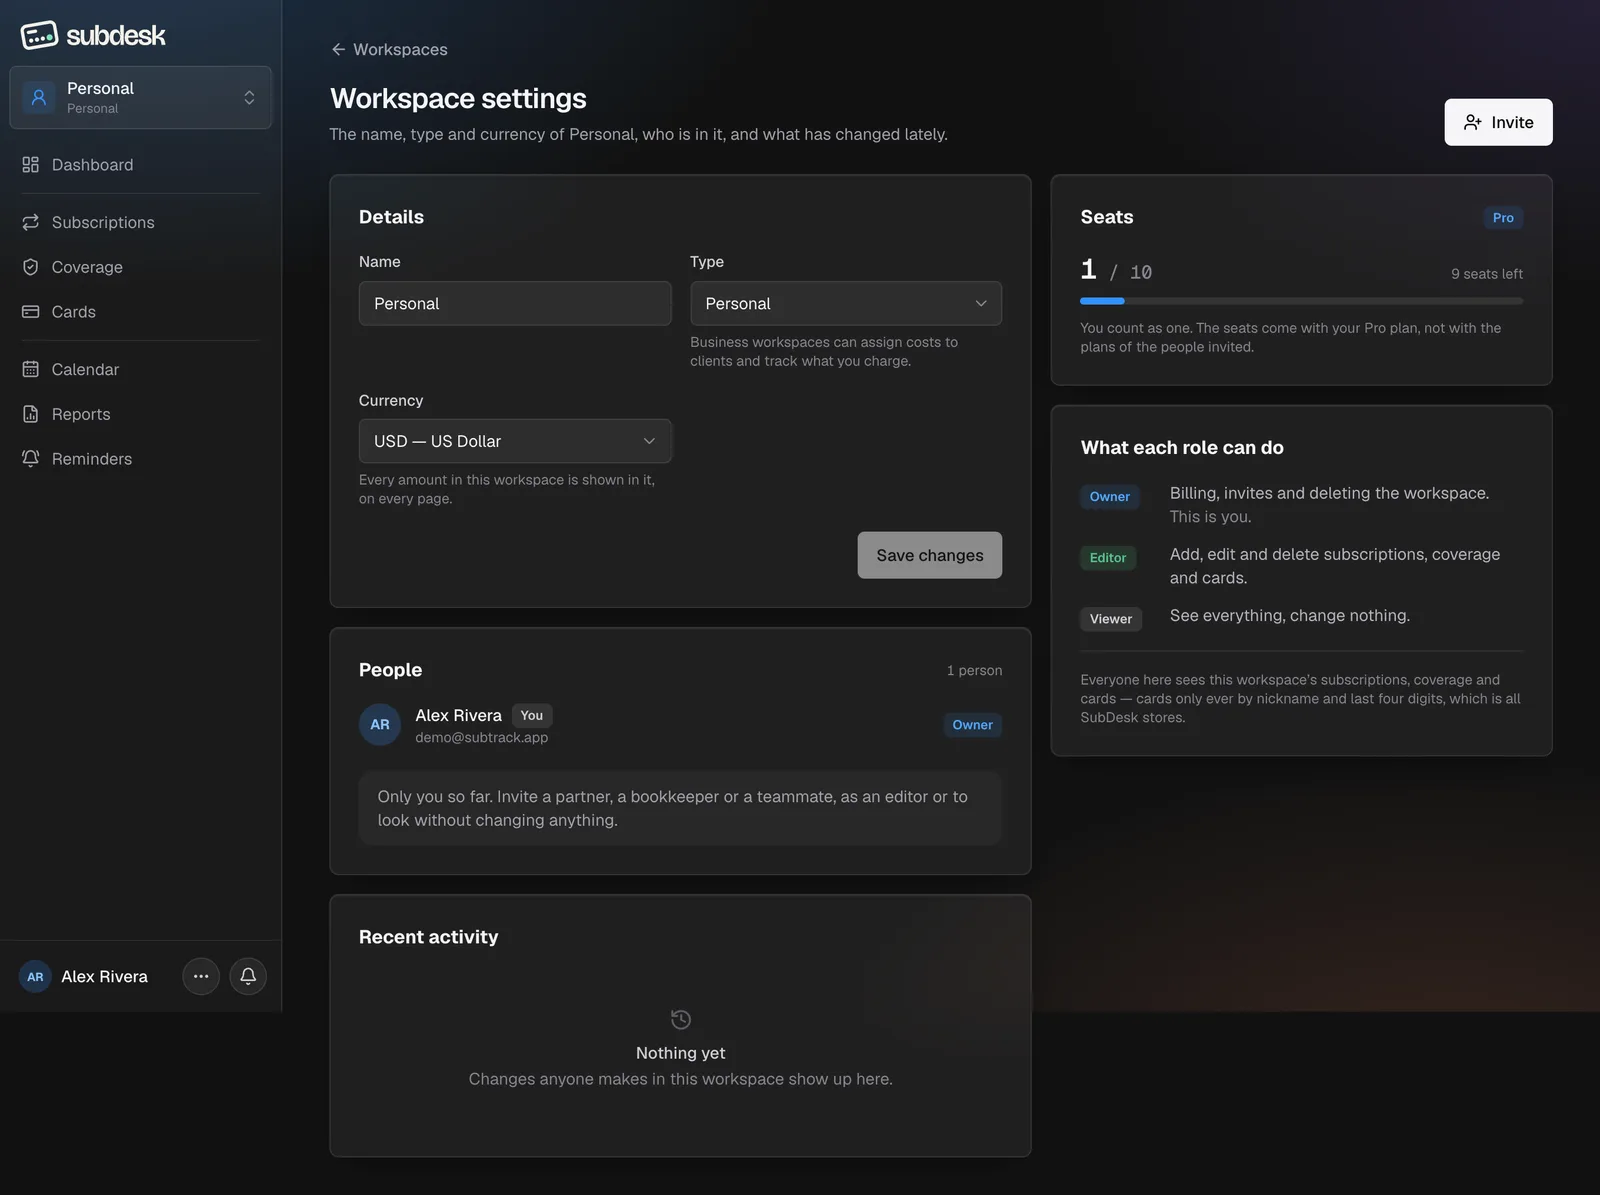
Step 2. Open Workspace settings
The gear next to a workspace opens its settings page: Details, Seats, People, and Recent activity, a log written by the database for every change anyone makes.
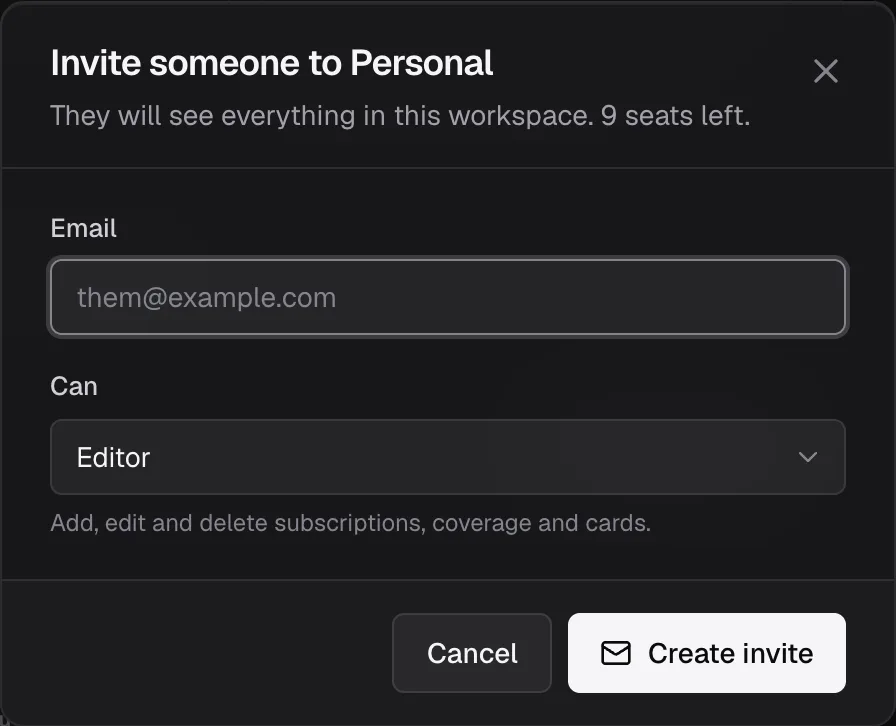
Step 3. Invite someone
Choose Invite, type their email, pick a role, and Create invite. They accept from the emailed link with their own SubDesk account. The owner's plan pays for everyone: Plus seats 5 people per workspace, Pro 10. If the owner drops to Free the workspace goes read-only for guests rather than losing them.
| Role | Can do |
|---|---|
| Owner | Everything, including the name, currency, people and deleting the workspace |
| Editor | Add, edit and delete subscriptions, cards, coverage and clients |
| Viewer | See everything, change nothing |